Installation Instructions
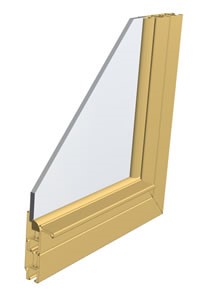
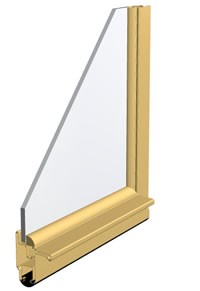
PRODUCT: Exterior OUTSIDE Removable Series (XOR, XOR1, XOR2)
Tools Needed:
• Tape measure, marker (carpenter’s pencil) and caulking gun.
• Screw Gun or Drill and bits of type and size appropriate for the construction material of the window.
• Anchors appropriate for the construction material of your application.
• We will supply stainless steel screws.
Preparation:
(CLIPS ARE FACING THE EXTERIOR FOR THESE MODELS)
Note: If invisible clips are used – the flat screw head is facing out.
Make sure the blindstop or other mounting surface is free of nails, staples, screws or excess caulking.
Drill 3/16” holes in master frame of storm window. Holds should be 4 inches from the corner on each side and approximately 18 inches on center. Holes should be drilled slightly angled towards the window jamb on the sides and toward the head at the top so the installation screws do not split the wood blind stop.
Fastening:
1) Caulk can either be placed on the blindstop prior to setting the storm window in the opening or you can place a bead of caulk around the outside edge after the storm window is securely fastened . Make sure to leave weep holes at the sill level.
2) Set the storm window in the opening with all glass inserts clipped in place to keep storm window square.
3) Push the storm window to the top of the opening making sure that the meeting rail is aligned with the meeting rail of the prime window.
4) Apply screws that were supplied by Historic Invisible Storm Windows in both side and top rails. No screws are needed at sill level. Check for a good seal around master frame at this time.
Installation Instructions Outside Removable Series(XOR, XOR1, XOR2)