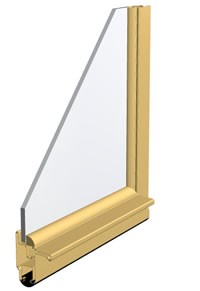
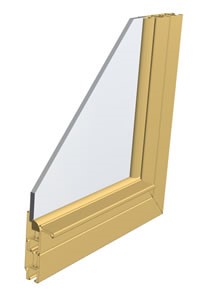
Installation instructions for the XIR models nested in angle:
1. Pre Drill the angle by drilling through the ¾” leg, ¼” away from the ½” leg edge (the edge or surface that touches the jamb when installed) using a 9/64 drill bit. Be careful not to drill more than ¼” away from the edge or the installation may not be tight.
2. Locate the holes 3” from each end and evenly spaced over the remaining distance for the two jamb pieces. On the one header piece drill only 1 hole in the center unless the unit is wider than 44” and in this case drill two evenly spaced holes.
3. After pre drilling the angle, mount the angle to the jamb using the #6 x 1” Flat Head Sheet Metal Screws (FHSMS) provided.
4. With the aid of an assistant on the exterior, holding the window in the opening and nested into the above mentioned mounted Angle, Center and lift the window as far up as it will go.
5. From the inside, use a variable speed cordless drill that is set on a light torque setting. (Do not set the torque, on the “Drill” setting as this will cause the screw to strip out the thread that is created as it enters the window frame)
6. Using the #6 x 3/8” self drilling screws provided, drive the screws through the pre drilled holes with the drill until it penetrates the back of the window frame. If the drill is set to the correct torque setting, it will drill through the window frame, form a thread into the back of the frame and draw the window into a tight fit against the angle. If the torque is set too low the window will be loose against the angle and if the torque is set too high the screws may strip out the formed thread.
Installation Instructions for XIR Nested Angle